M2 measurement
M squared measurement
Laser beam quality is a critical aspect in many applications. In particular, the ability to effectively focus collimated laser beams, or collimate focused beams, is very important to get the most out of a laser: optimizing fluence in manufacturing applications such as machining or welding, ensuring the best resolution in imaging systems, optimizing coupling in fiber optic applications or achieving a better propagation through atmosphere in free space optical communications and laser radar systems (LIDAR). The M squared, or M2 factor, is the beam quality metric that describes this capacity by comparing it to a perfect single mode TEM00 (Gaussian). Accurate measurement of laser beam quality is necessary to optimize performance and maintain manufacturing consistency. Conveniently, the M2 is dimensionless and allows easy comparison between lasers.
The international standard ISO 11146 provides a method to calculate the M squared, as well as some additional rules to optimize the accuracy of the reconstruction. Traditional methods for measuring M2 require moving a sensor with a translation stage to obtain multiple measurements at different observation planes: near the beam waist but also at one Rayleigh length away of it. This operation is time-consuming and complicated. The process therefore requires appropriate translation stages, alignment, and focusing optics that can compromise the accuracy of the real M2 value.
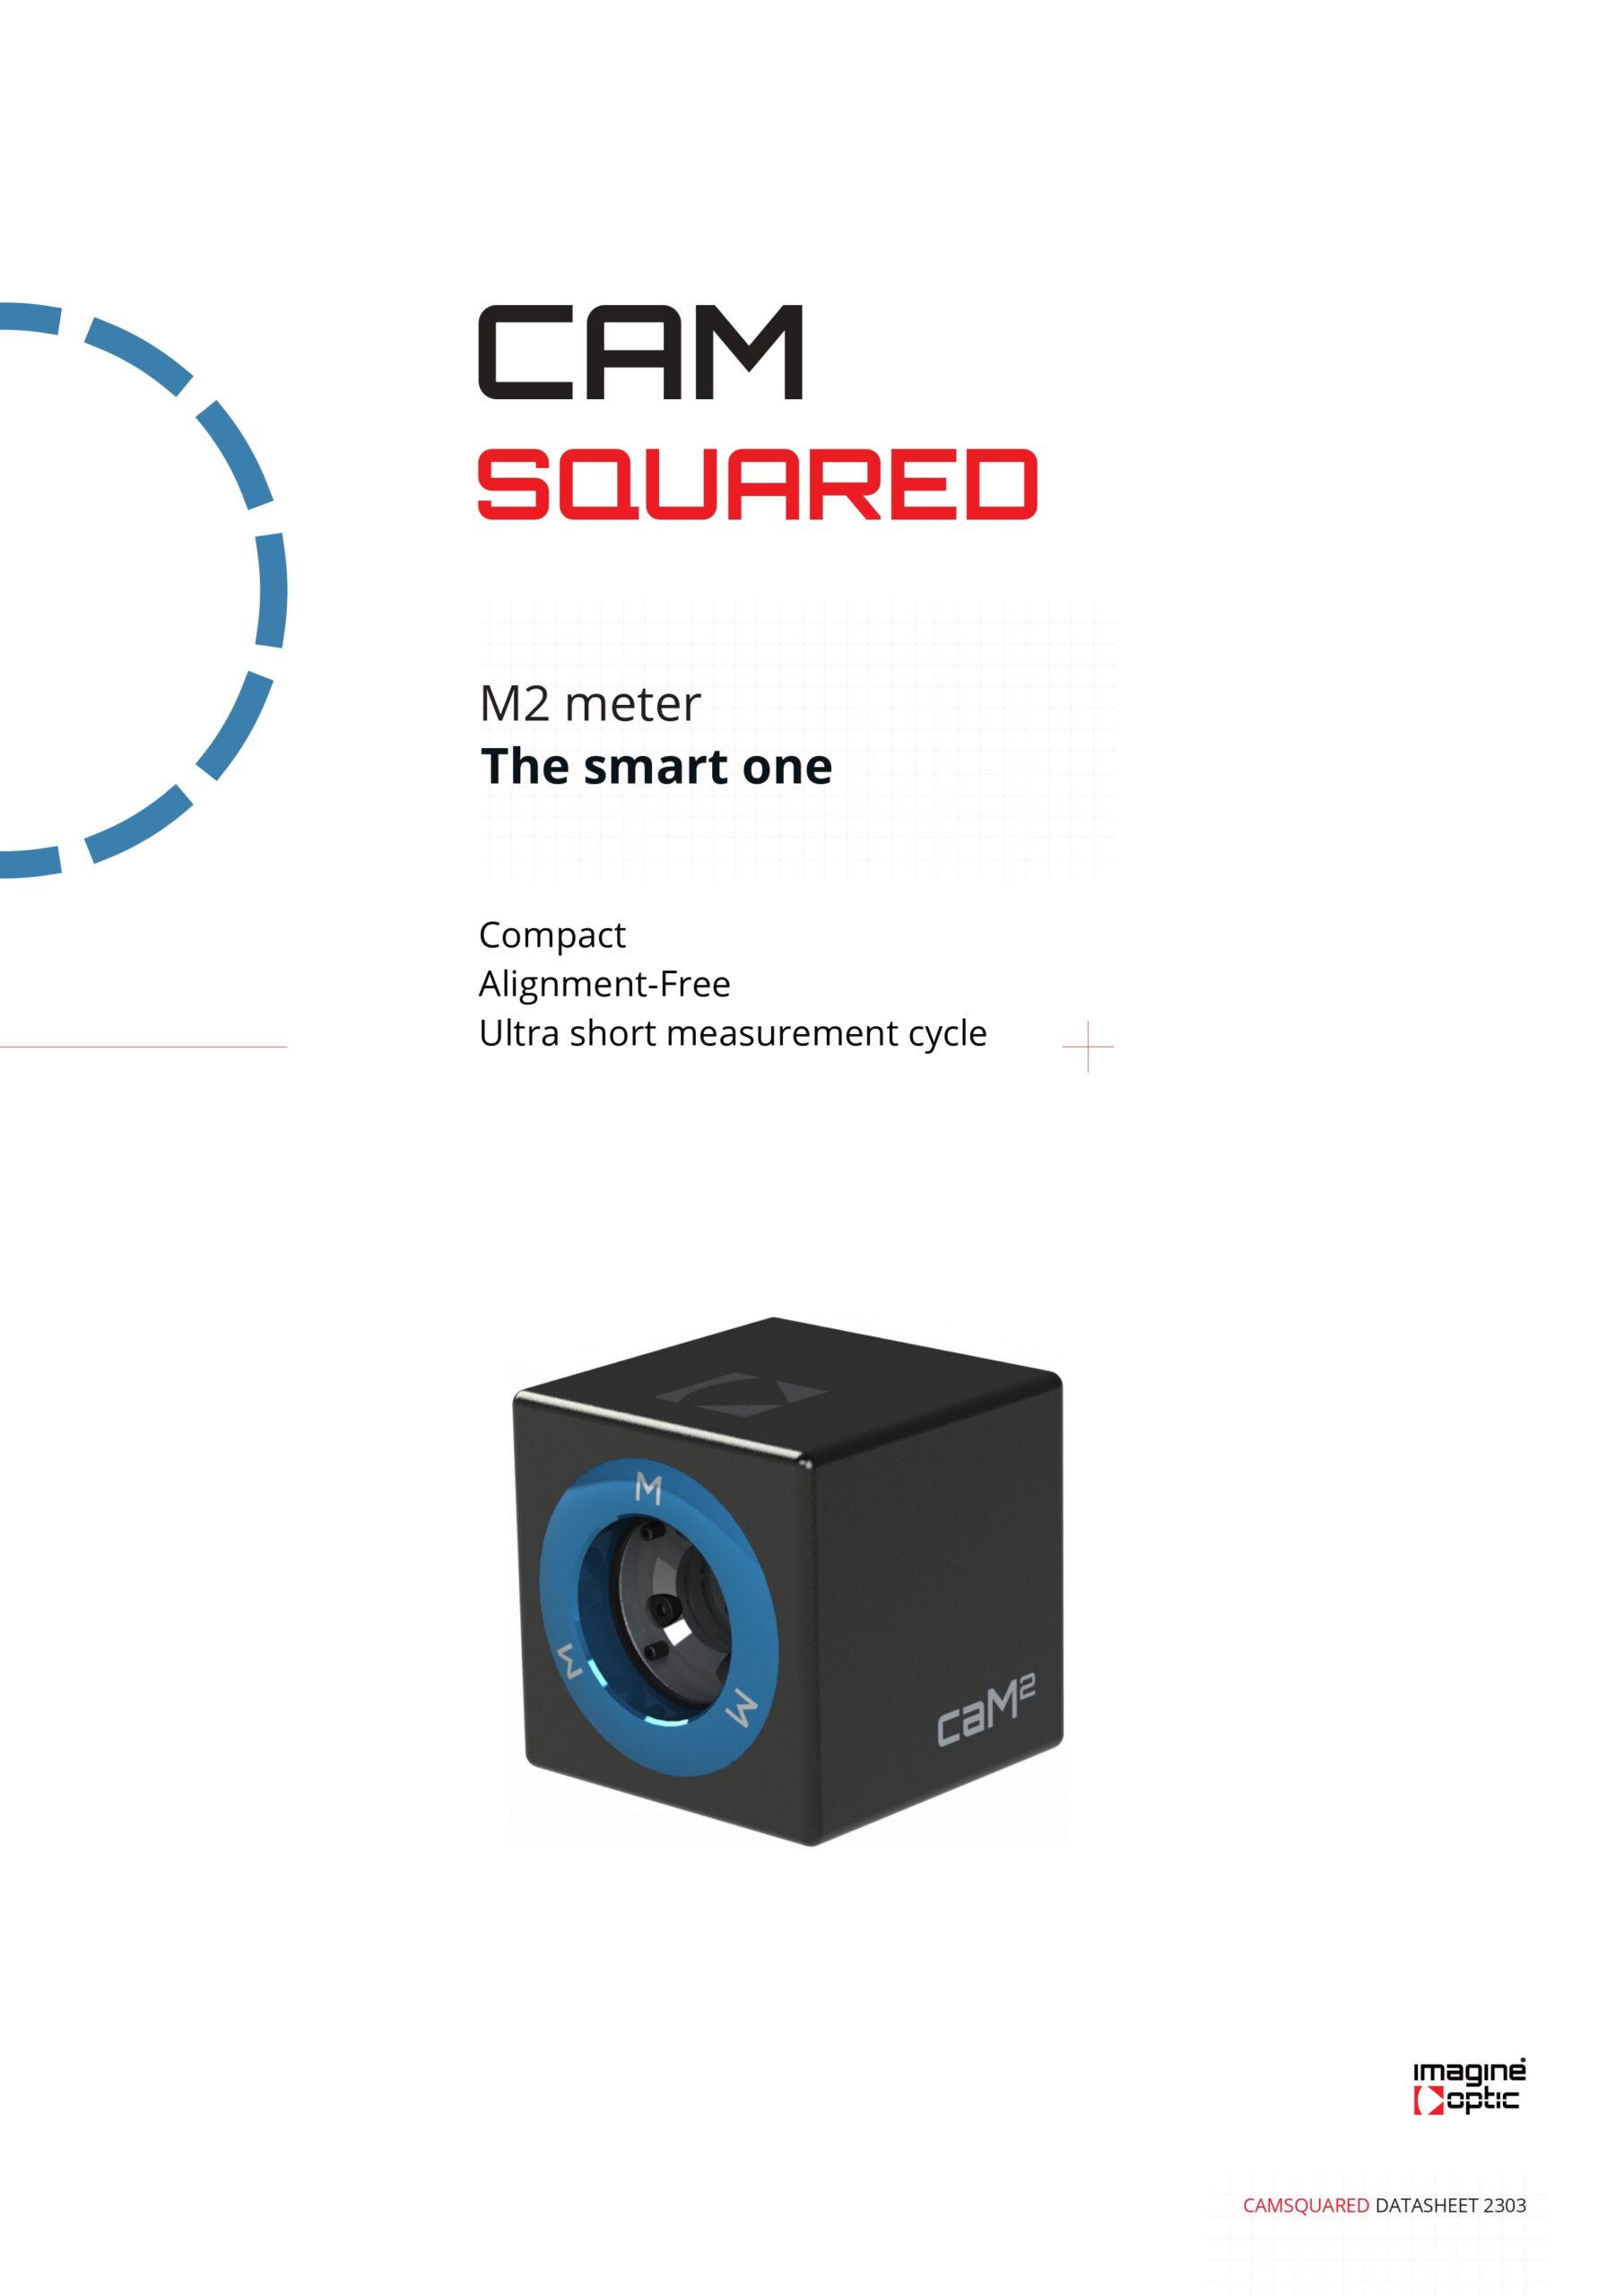
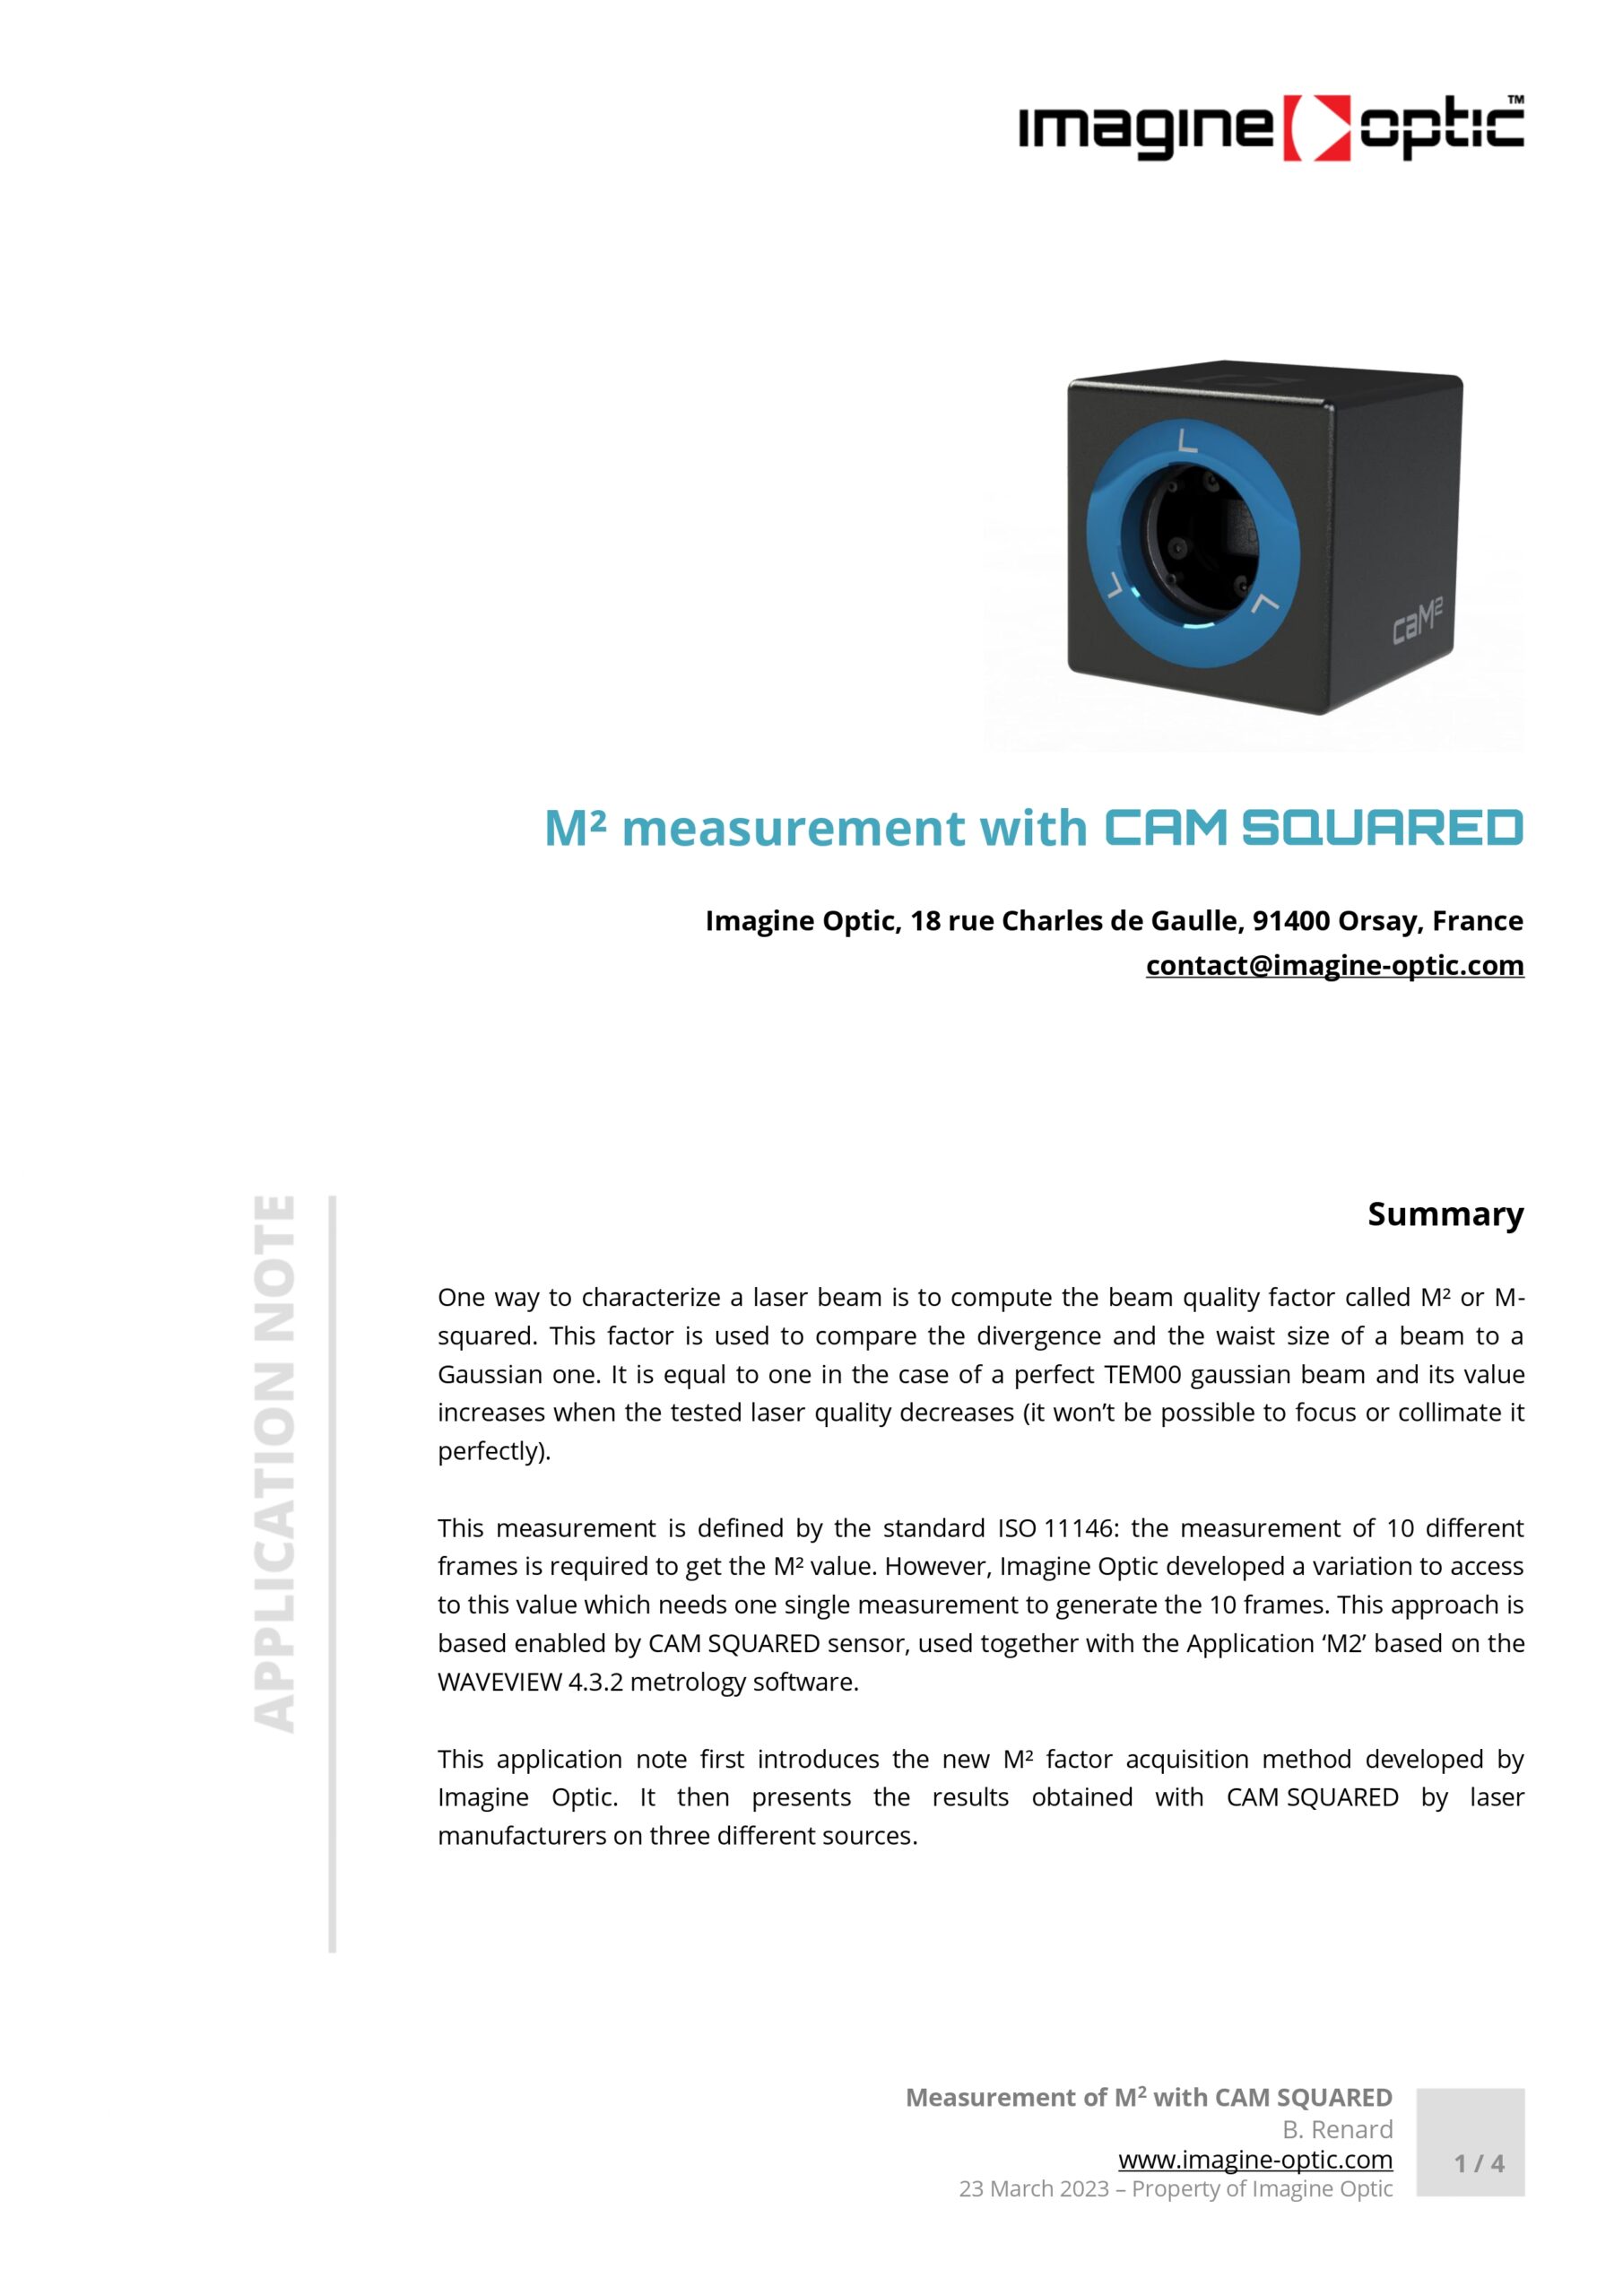
Imagine Optic has developed CAM SQUARED, an innovative measurement system, that provides reliable and accurate analysis of laser beam quality and sets a new standard in terms of M2 measurement cycle time and simplicity compared to current solutions. Imagine Optic’s technology allows the acquisition of all the necessary dataset needed, within the Rayleigh length and outside of it, in one go, being able to select from 10 to an infinity of observation planes. Then, M2 parameter is calculated from these 10 data points by fitting as defined in the standard ISO 11146. This unique approach makes CAM SQUARED M squared measurement system as easy and quick to set up as a beam profiler! Users and operators in manufacturing environment no longer need translation stages, alignment, and selection of focusing optics, making the process simpler and faster, with measurement cycle time reduced from minutes to seconds.
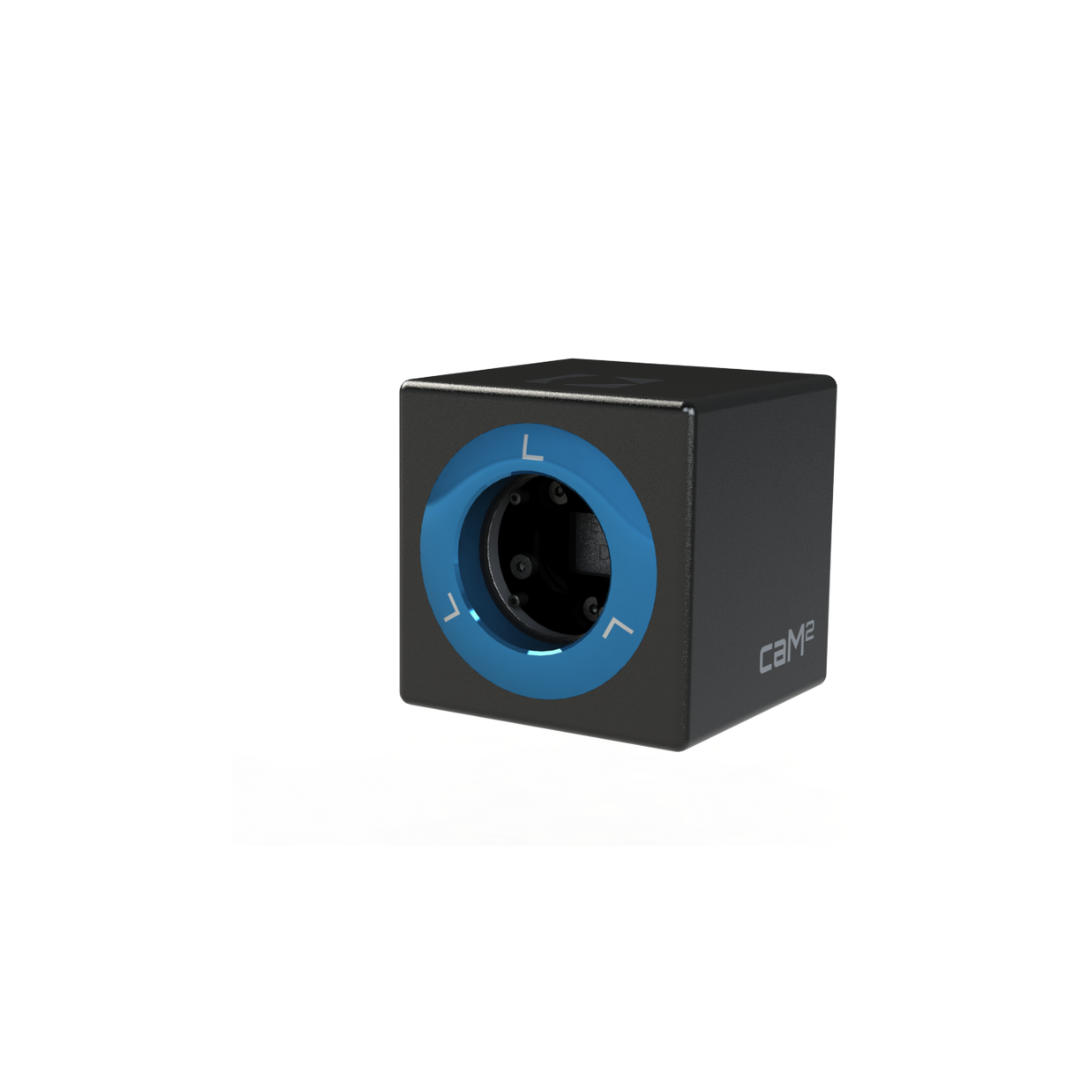
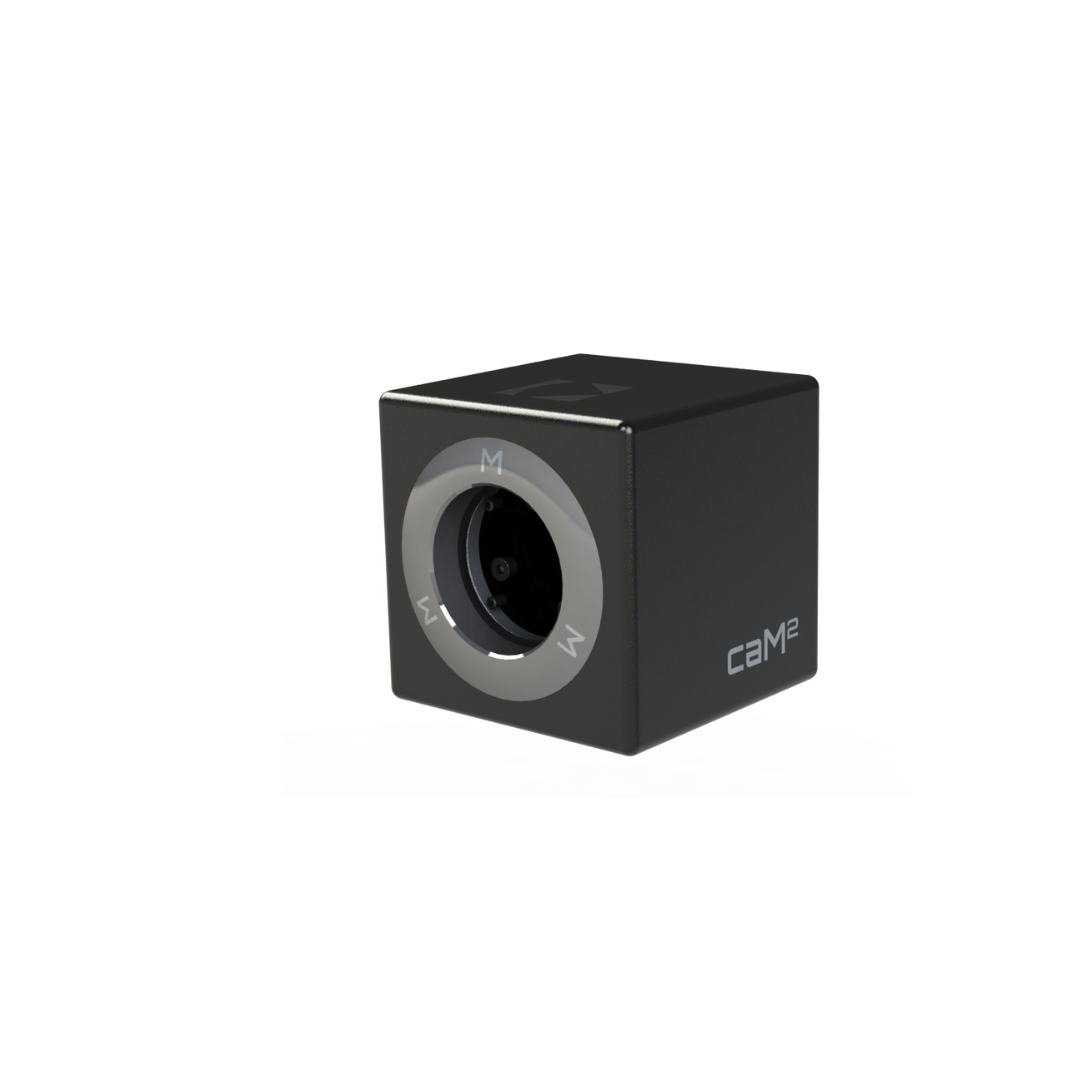
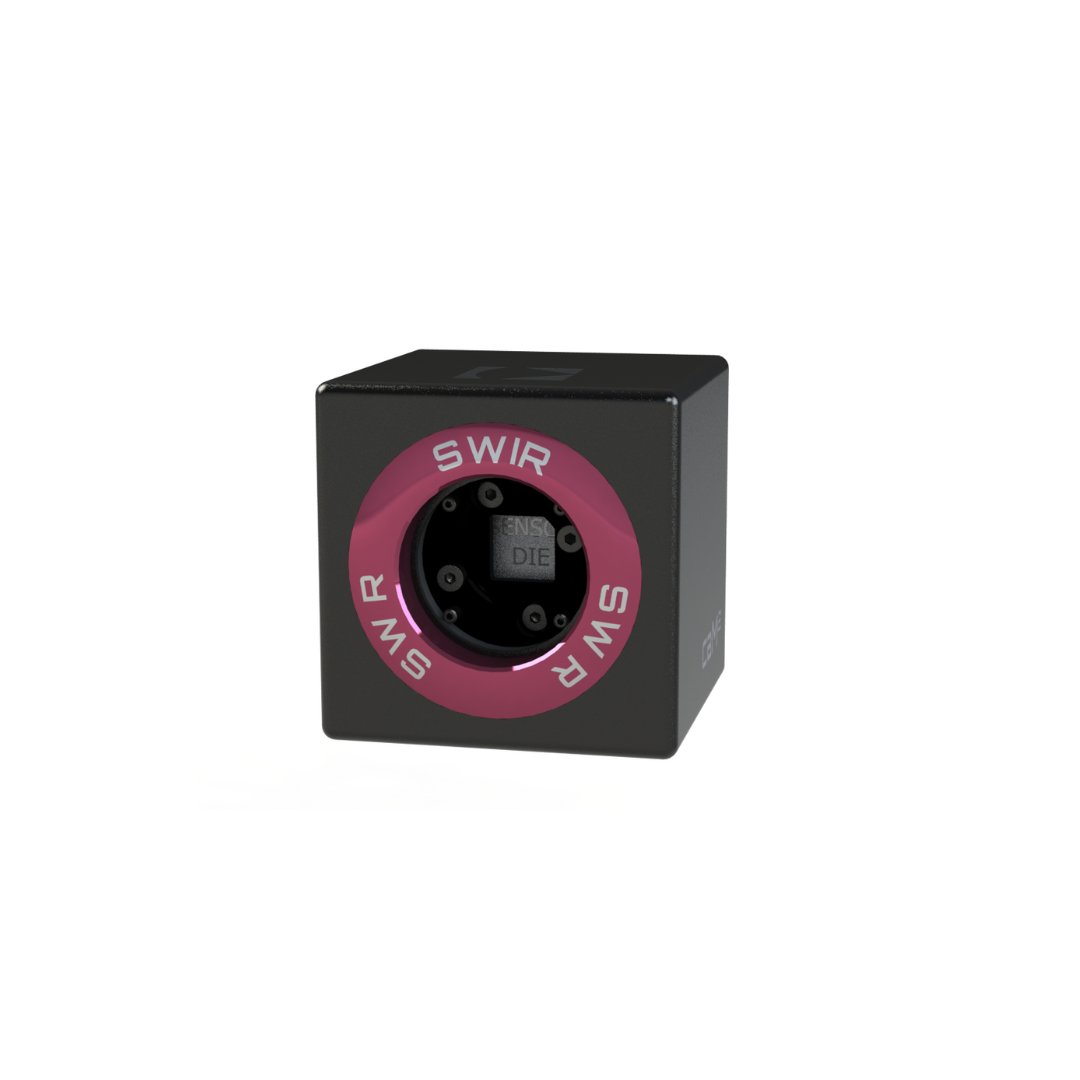
CAM SQUARED provides multiple laser quality metrics, including M2, divergence, focus diameter, waist position, Rayleigh length and astigmatism. An optional phase measurement is also available to analyze the source of aberrations and optimize system quality, alignment and/or collimation. The M2 meter is operated from a dedicated Application, called ‘M2’, which provides a simple and optimized display of the laser quality metrics based on the WAVEVIEW™ long-proven optical metrology software. The software also displays an instant visualization of the beam propagation and intensity maps at any observation plane.
The CAM SQUARED system comes with several mounting options, including adaptors for the most common mechanical stages and magnetically coupled top and bottom plates, which allow the sensor head to be mounted, dismounted, and repositioned with high repeatability. This feature makes the system very versatile and flexible, allowing it to be used in a variety of applications or manufacturing lines, for example.
In conclusion, Imagine Optic’s CAM SQUARED M2 measurement system is a game-changer in laser beam quality testing. It offers significant benefits over traditional methods, including faster results, simplicity and versatility. The system is ideal for a variety of applications, including materials processing, imaging, free space optics and scientific research. If you want to ensure the best laser beam quality for your application, CAM SQUARED is the system for you.

